
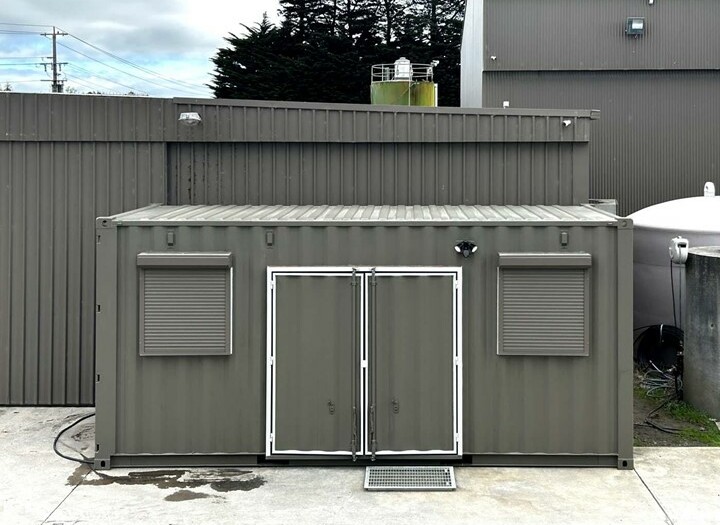
Looking for a workspace that is flexible, durable, and cost-effective? A shipping container office can be a smart alternative to traditional construction, whether you need a backyard office, a site office, or a relocatable commercial space.
The good news is that converting a shipping container into an office is a structured process. With the right planning and professional support, it can be surprisingly straightforward.
While DIY projects can be appealing, office spaces demand higher standards for comfort, safety, and compliance. Professional builders like Sonic Steel bring experience gained from designing shipping container homes DIY projects through to fully finished commercial spaces.
Sonic Steel’s understanding of insulation systems, structural modifications, and Australian standards helps avoid common pitfalls and ensures the final result performs as intended.
Before any cutting or construction begins, it is essential to clarify how the office will be used. This decision influences almost every design choice that follows.
Ask yourself:
A single-person home office has very different requirements compared to a multi-user site office or creative studio. Defining the purpose early helps avoid costly changes later.
Shipping containers typically come in 20ft and 40ft sizes, and selecting the right one depends on your space requirements and site constraints.
A 20ft container works well for:
A 40ft container suits:
If you are unsure, Sonic Steel’s experience with shipping container houses and commercial builds means they can help assess what size works best for your needs and location.
For more guidance on sizing, you can also explore How to Choose the Perfect Size for Your Relocatable Shipping Container Home on the Sonic Steel blog.
One of the most common questions is whether council approval is required.
In many cases, a shipping container office will need approval, particularly if it is:
Requirements vary depending on your council and whether the office is considered a temporary or permanent structure. This is especially important across container homes Australia–wide, as regulations differ between states.
Working with a professional container builder helps ensure:
Once approvals are addressed, the physical transformation begins.
This stage typically includes:
Layout planning is critical in office conversions. Power points, lighting, must be positioned for practical day-to-day use, not added as an afterthought.
If you are weighing DIY versus professional help, our article Shipping Container Modifications: DIY or Professional – Which Is Right for You? offers useful insight into what can realistically be handled yourself.
This is one of the most important steps and one that is often underestimated.
Steel containers are prone to heat retention and moisture buildup if not treated correctly. Without proper systems in place, you may face issues with shipping container condensation, temperature extremes, and poor air quality.
A well-designed container office should include:
Sonic Steel addresses this through their proprietary VenSulation system, which combines insulation and controlled ventilation to create a healthier, more comfortable internal environment. This is particularly important for offices where people spend long hours indoors.
For a deeper understanding of why ventilation matters, the blog From Steel Box to Dream Home: How Smart Ventilation Transforms Container Living is worth reading.
A functional office needs more than just walls and a desk.
At this stage, electricians and specialists install:
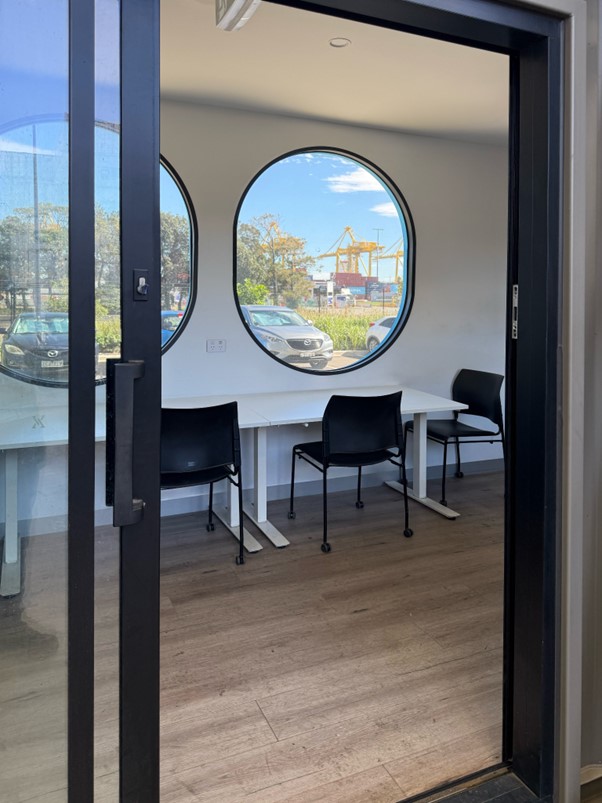
Lighting design is especially important in container offices. Natural light from well-placed windows can reduce reliance on artificial lighting, while LED solutions help keep energy use low.
This is also the point where future-proofing matters. Adding extra outlets or data points during construction is far easier than retrofitting later.
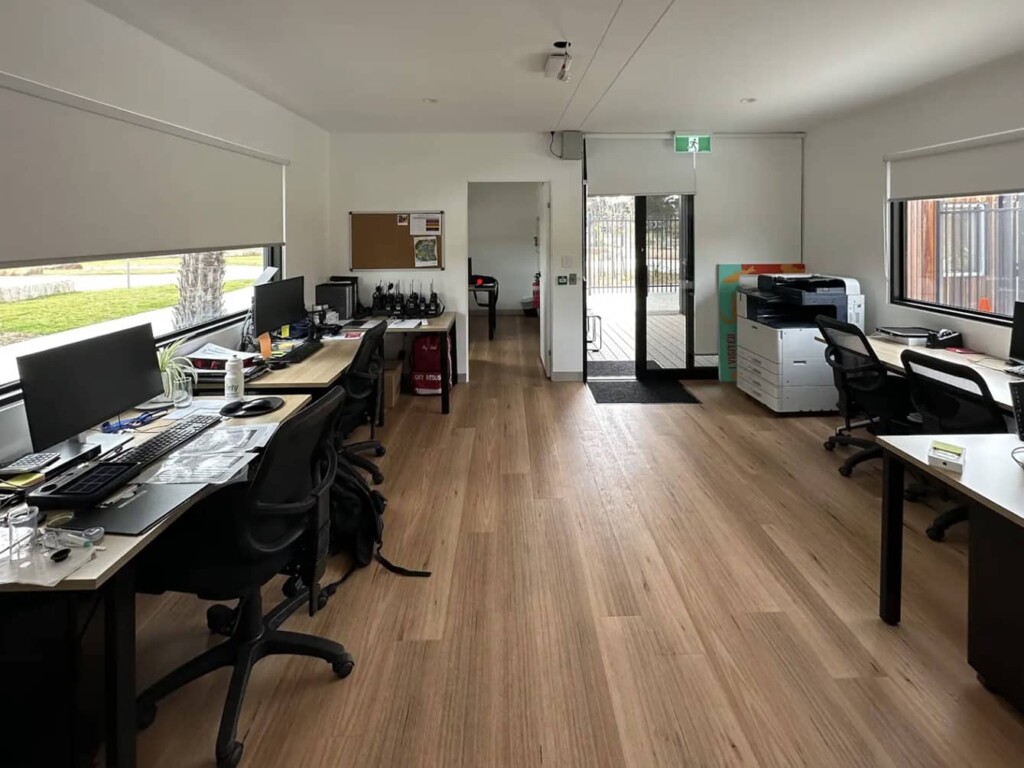
Once the technical elements are complete, attention turns to the interior.
This includes:
Comfort is key. A container office should feel like a professional workspace, not a temporary box. Thoughtful design choices help maximise space, improve acoustics, and create an environment that supports focus and productivity.
Our blog How to Maximise Space in a Shipping Container Home: Secrets Revealed offers ideas that translate well to office layouts, especially in smaller containers.
With construction complete, the office is transported and installed on site.
This typically involves:
For businesses or remote locations, relocatable builds can be a major advantage. While container offices are not always classified as relocatable container homes, many designs still allow for future relocation with the right planning.
Before moving in, it is important to complete final checks:
Once signed off, your container office is ready for use.
With proper design and professional construction, a shipping container office can last for decades and adapt to changing needs over time.
A shipping container office offers flexibility, durability, and a smart use of space when designed properly.
If you are considering converting a container into a professional workspace, Sonic Steel can guide you through the process from design to delivery, ensuring your office is comfortable, compliant, and built to last.
Get in touch with the Sonic Steel team to discuss your container office project and explore what is possible with a custom container solution.
Why More Australians Are Choosing Shipping Container Homes
Step-by-Step Guide to Converting a Shipping Container into an Office
Top 7 Maintenance Tips for Your New Prefabricated Home
How to Maximise Space in a Shipping Container Home: Secrets Revealed
Can You Modify a Shipping Container? Exploring Your Options
Use the form below to drop us an email if you have any question or comments.